Bettermode vs Glide: In-Depth Analysis for Community-Driven App Builders in 2025
Find out which no-code platform wins the battle of Bettermode VS Glide.
In this guide, we will compare two popular no-code platforms and see how they compete in terms of features, pricing, and customization options for building web apps.

The right no-code tool can speed up creating new apps by 62% and adding features by 72%.
During this read, you will see how two no-code platforms help you create web and mobile apps from scratch using templates and drag-and-drop interfaces. Moreover, you'll see how Bettermode stands vs Glide, as one of its strongest alternatives on the market.
Best of all: To save you time and effort, we've created two websites with each tool, showcasing each step and the best use cases of each platform.
Bettermode vs Glide: full review
Let's compare tools based on functionalities and show differences in templates, pre-built components, features, customization, and data storage.
Features
Customization
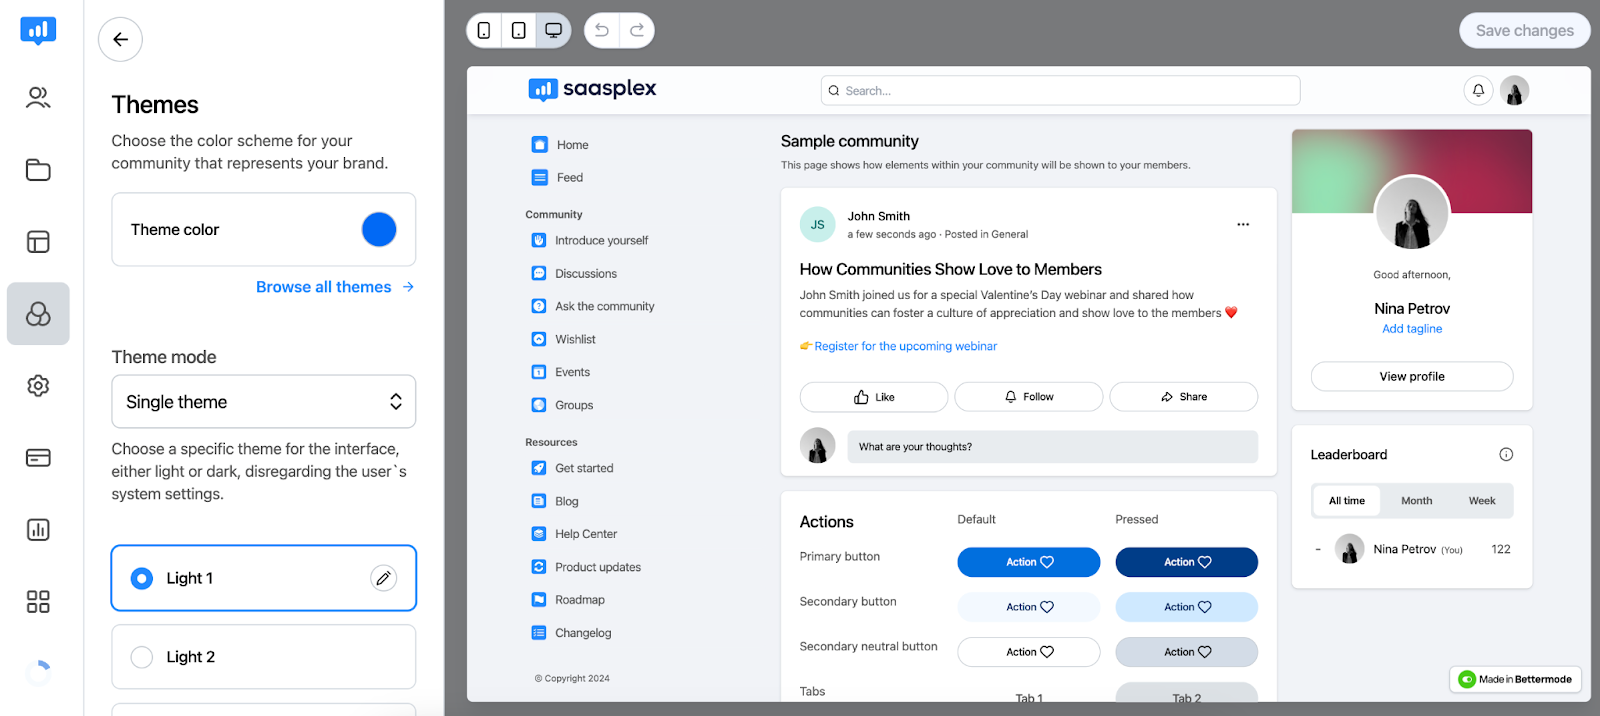
- Bettermode has pre-made components that users can drag and drop. You can add, move and remove blocks from a list, and they come with configurable options. Simply click "C" on your keyboard on any of the template pages, and it will lead you to an editor where you can customize your website template.
The post block allows you to configure how posts are shown, including layout styles and displayed fields.
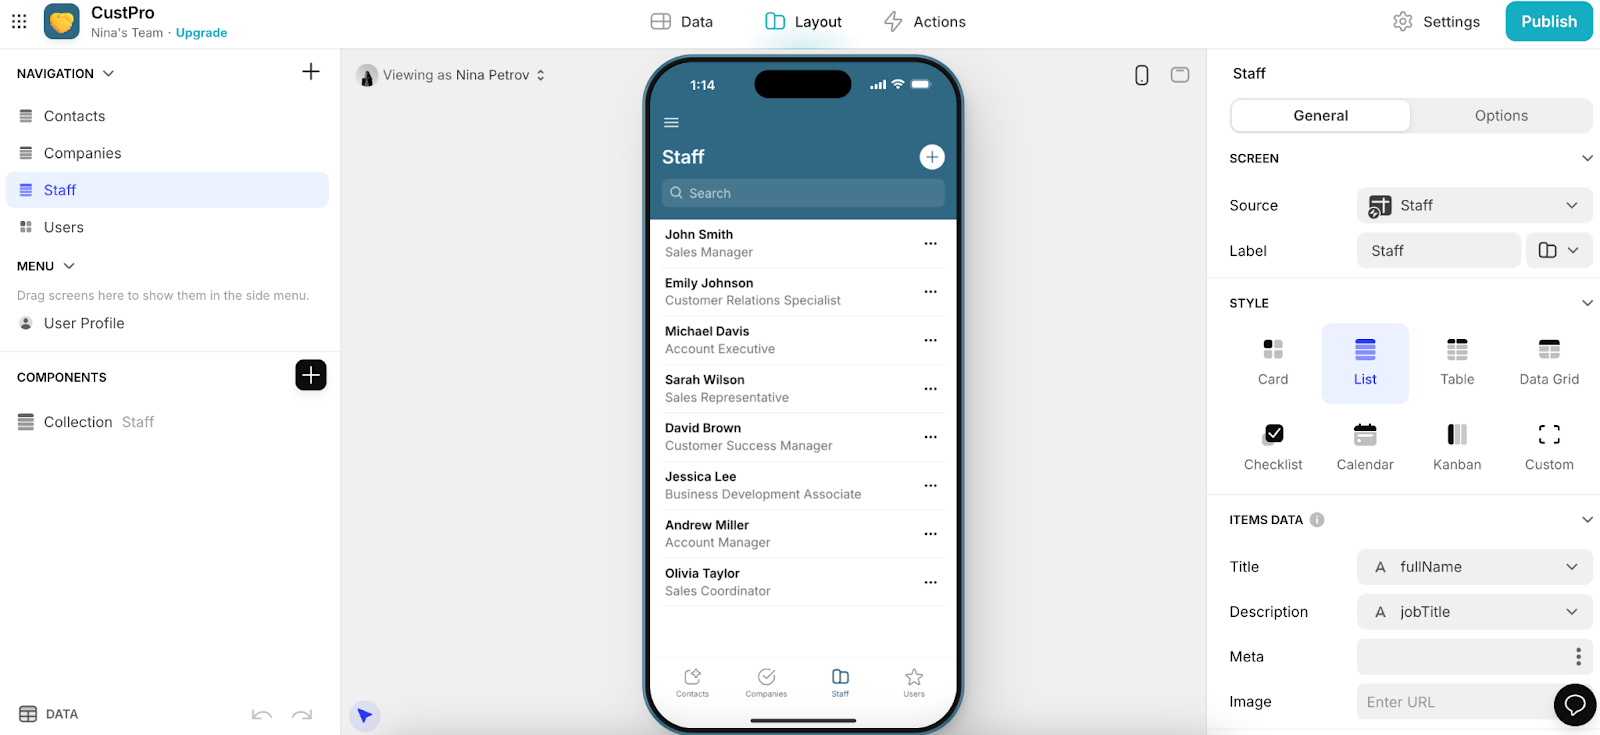
- Glide enables customization from multiple supported data sources such as Google Sheets. Adjust tabs and labels, change icons and the layout. You can also change the bottom navigation and hide irrelevant options. Keep in mind that customization options are quite limited in the free plan. To get more customization options, especially in terms of design, you can subscribe to one of Glide's paid plans.
Data storage
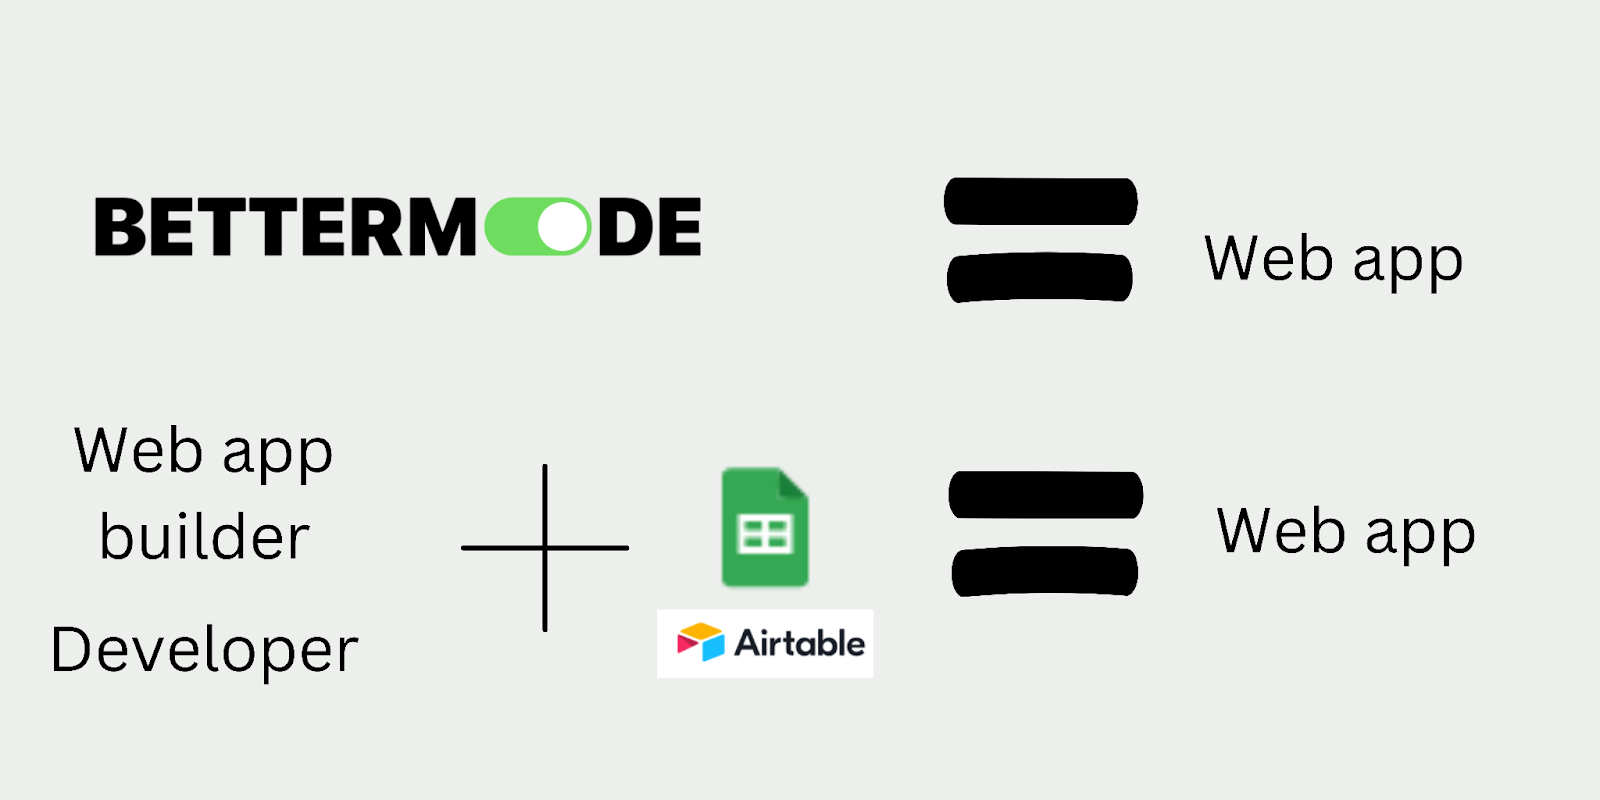
- Bettermode has its own CMS for storing data, making it ideal for designing internal tools. You don't need to use spreadsheets or import data from other third-party services like Airtable or SmartSuite. With Bettermode's CMS, everything is in one place and it makes it super easy to manage your data.
- Glide also has quality CMS which gathers data like inventory, support tickets, and customer reviews, and organizes multiple data sources in one place.
API
- Bettermode's API lets apps act on behalf of bot accounts or community members. Just remember, you can only create and use app access tokens in communities where the app is installed. To start, generate an access token using the app's client ID and secret.
- Glide's API allows you to automate data management by connecting to your Glide Tables. With the API, you can add rows, set column values, and delete rows. If you have a Business or Enterprise plan, you can also access all rows and query Big Tables with SQL.
UI/UX
- Bettermode's UI/UX is user-friendly and customizable, featuring templates akin to WordPress where users can easily move around blocks. Deployment is quick, and admin settings are simple to manage. The platform offers flexible configuration options for tailored projects.
- Glide pages have customizable menus, tabs, and layouts. Its component library simplifies interface design with features like text fields, buttons, and media embeds. Glide's simplicity is great for basic projects but can feel limiting for more complex ones due to a lack of customization options.
Integrations
- Bettermode integrates with top applications and tools, such as Slack, Salesforce Sales Cloud, Google Analytics 360, Jira, Google Calendar, HubSpot CRM, Stripe, Zapier, Google Cloud, Meta for Business, Intercom, Hotjar, Discord, HubSpot Sales Hub, Segment, FullStory, Zendesk, and more.
Also read: 5 Zendesk Competitors for Making a Self-Service Portal
- Glide integrates with Asana, Azure, Browser, Clearbit, Discord, DocsAutomator, DocuSign, Giphy, GitHub, Gmail, Google Analytics, Google Calendar, Google Cloud, Google Maps, Google Tag Manager, HubSpot, etc.
Pricing
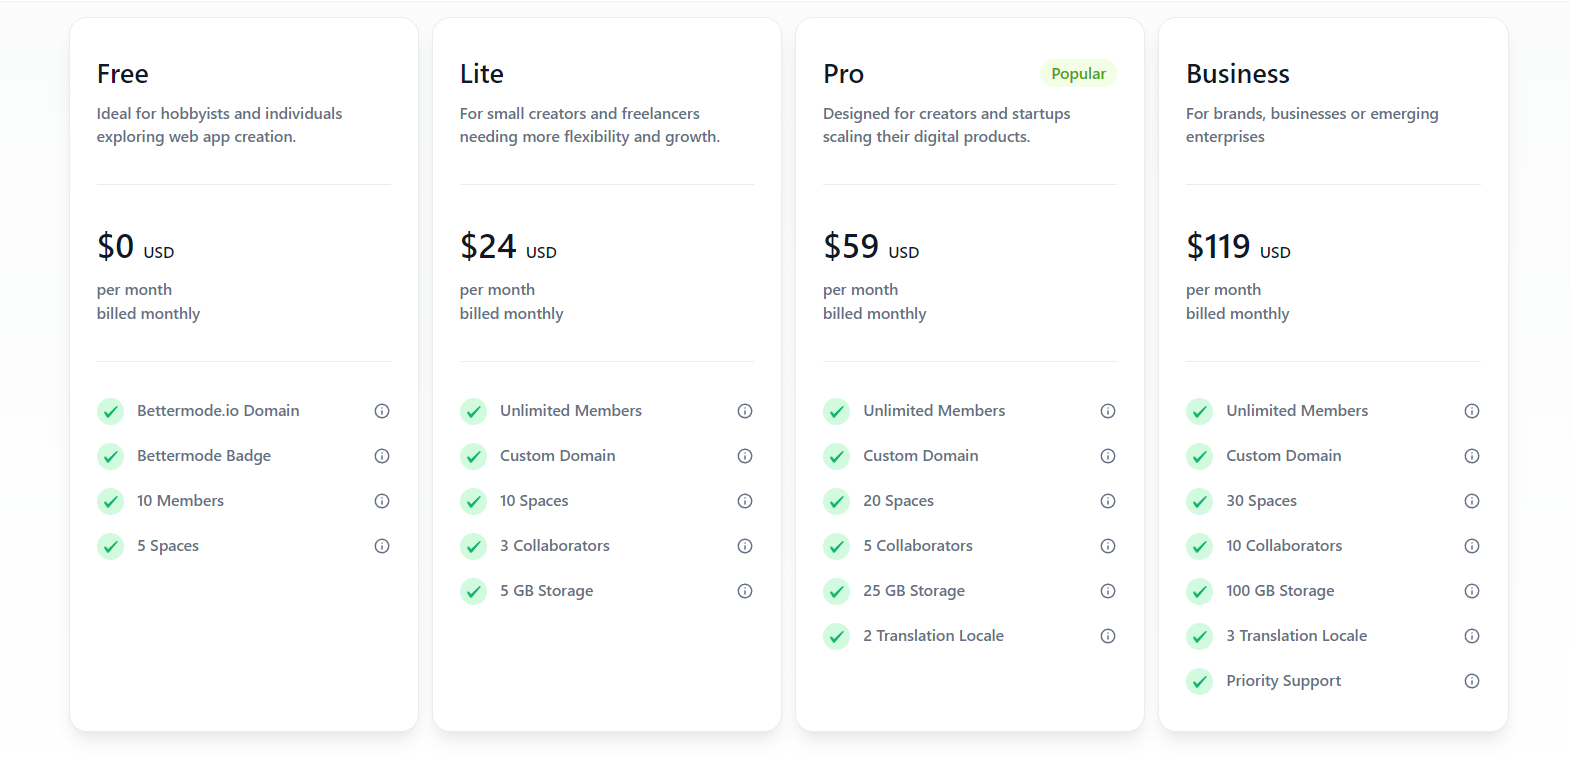
Bettermode is free for up to 5 websites. If you need more, there are three paid plans:
- Lite – Unlimited members, 10 spaces, 3 collaborators, and 5 GB of storage, $24/month
- Pro – Unlimited members, 20 spaces, 5 collaborators, and 25 GB of storage, $59/month
- Business – Unlimited members, 30 spaces, 10 collaborators, and 100 GB of storage, $119/month
Glide has two different pricing models:
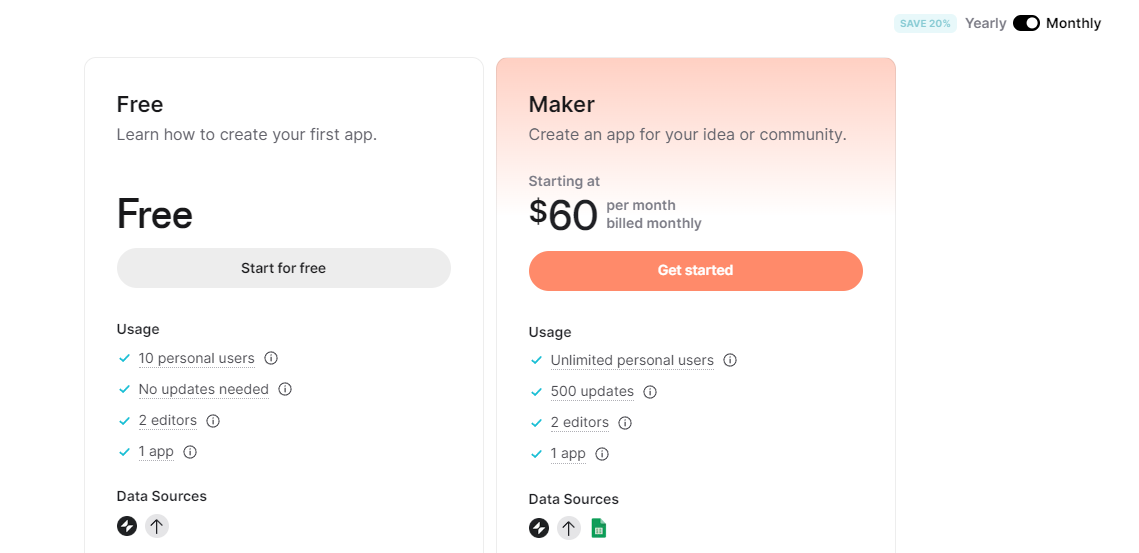
- For makers
- Free – 10 members, 2 editors, 1 published app (limited updates)
- Maker – Unlimited members, 500 updates/month, 2 editors, unlimited apps, $60/month
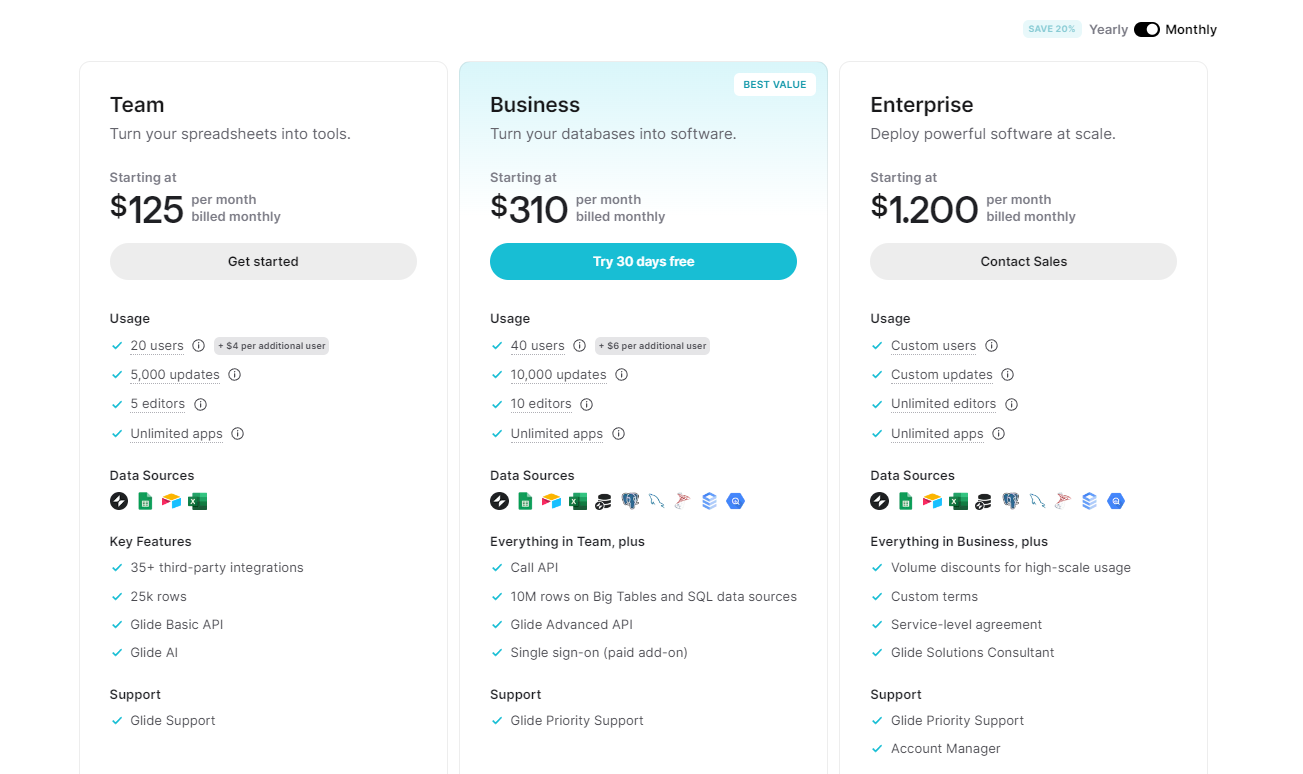
- For companies
- Team – 20 users ($4 per additional user), unlimited apps, 25,000 rows of data, $125/month
- Business – 40 users ($6 per additional user), everything as in Team plan + 10 million rows of data, $310/month
- Enterprise – starting at $1200 per month, everything as in the Business plan + custom terms. You need to contact sales for details.
User ratings
Users love Bettermode's intuitivity, various space options, and quick integration with external tools.
They also love the straightforward mass actions, quick customer support, and visual interface. Moreover, they are absolute fans of Bettermode's new templates and the ability to fully customize them for a community website. Some users hope Bettermode will eventually expand to offer a fully white-labeled native in-app community available in app stores.
- G2 rating: 4.6

When it comes to Glide, users mention easy-to-use interfaces and diverse templates for creating new Glide apps. They find it straightforward to learn and implement.
- G2 rating: 4.7

Bettermode vs Glide: templates
- Bettermode offers a variety of templates you can leverage to create a web app that serves as an internal tool for your community hub, knowledge base, client portal, and many other use cases. With 20 ready templates (and more to come), you can create a main app to connect customer feedback community, support team, and business stakeholders.
Best part of it all? You can use all available templates for free.

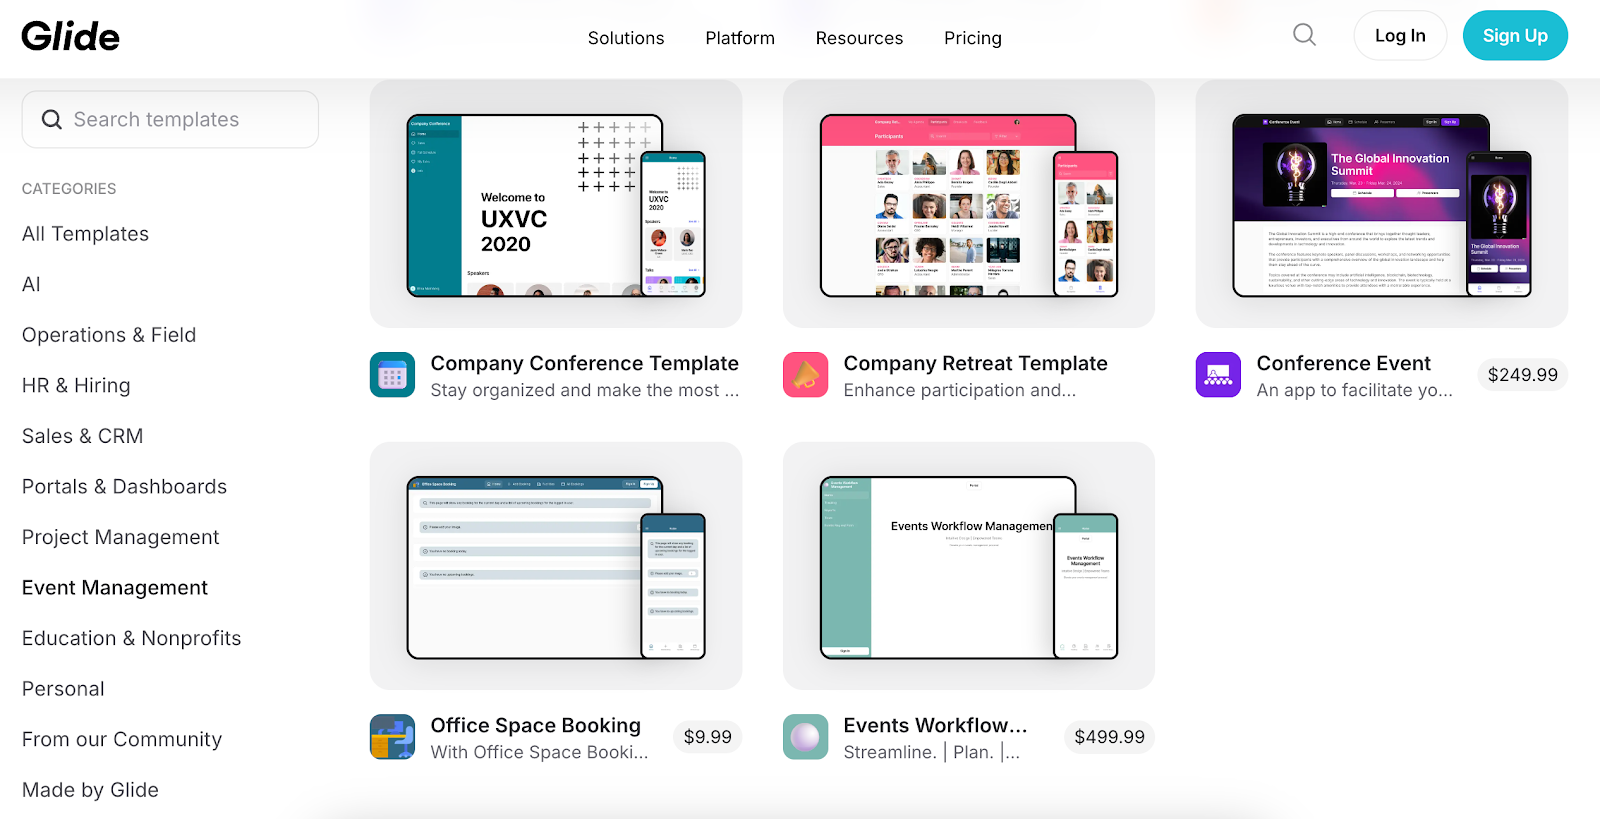
- Glide offers a wider range of templates for use cases such as CRM & Pipeline, Booking, or industry-specific like Zubma. However, only some templates are free, while the price of others vary from $4.99 to $999.99.
Bettermode vs Glide: How to build a web app
Here, we'll guide you through the step-by-step process of building a web app using both Bettermode and Glide. This way, you can choose the best and most beginner-friendly platform for you.
App creation with Bettermode
- First, log in to your account and go to “Browse templates.”
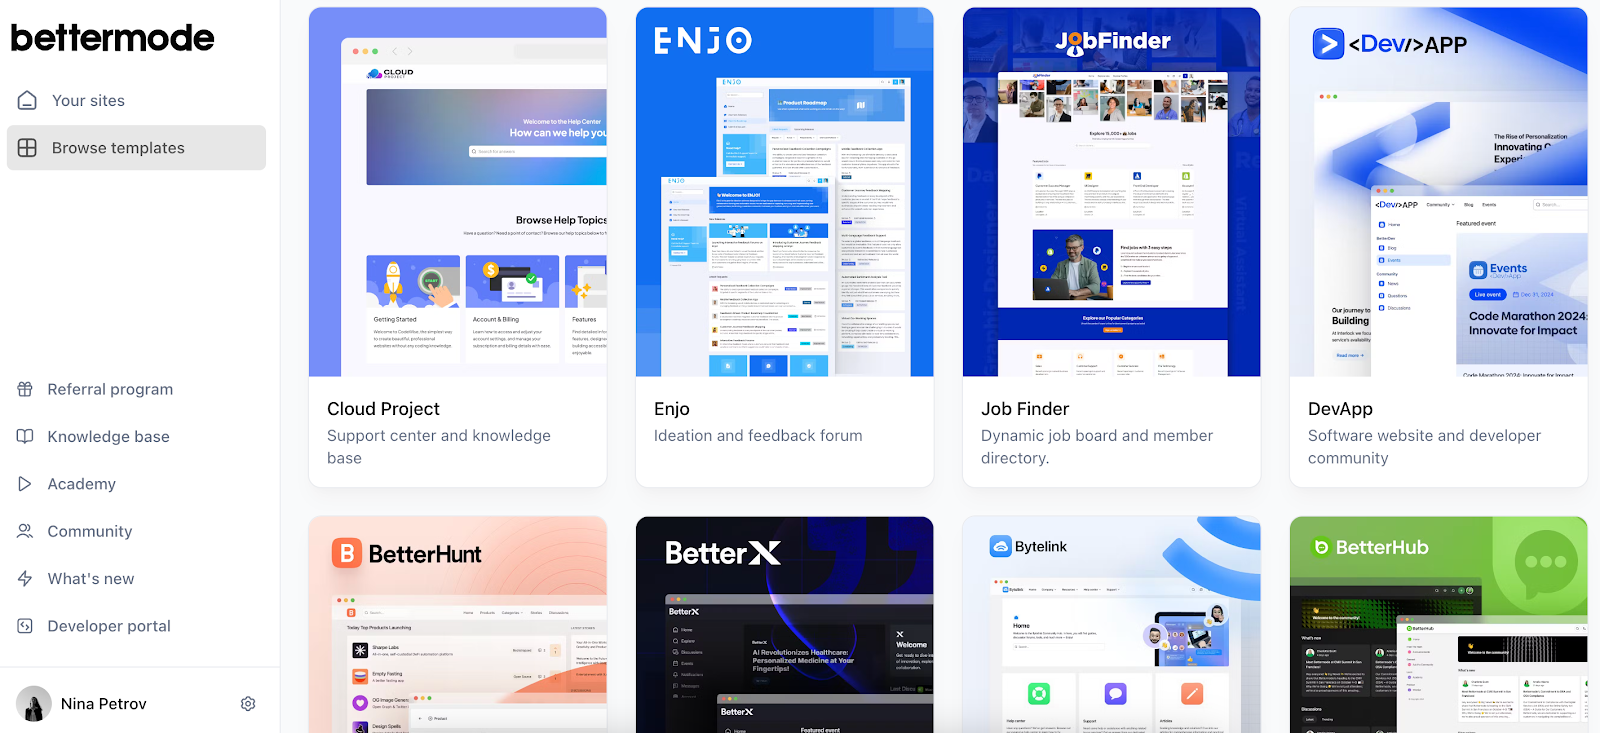
- Choose the template you like; for instance, “Code Desk” to connect your code geeks with clients who request a software upgrade, new feature or plugins.
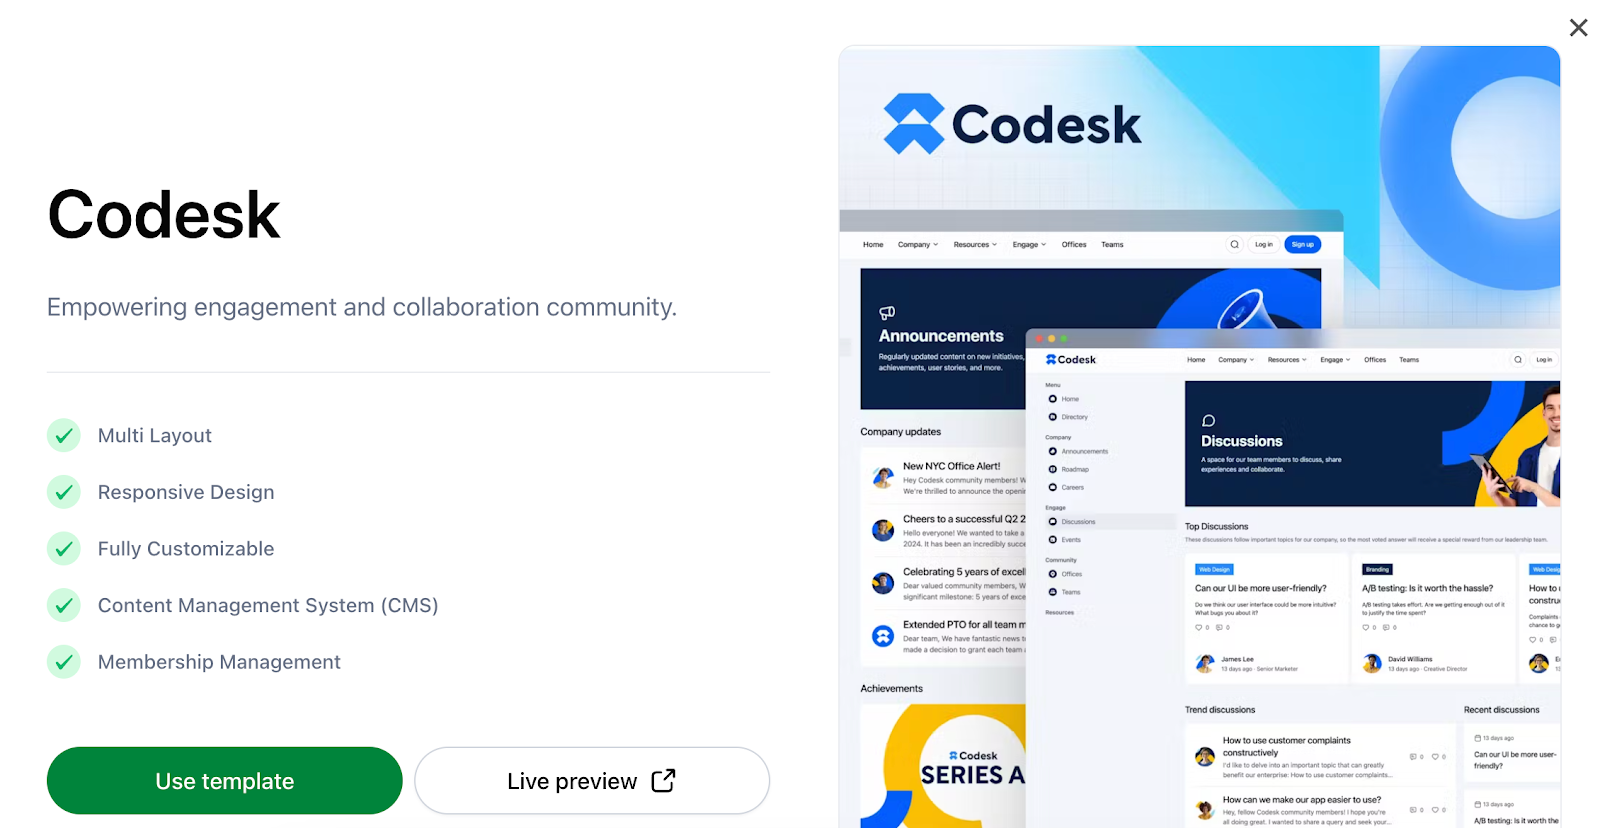
- Once you click “Use template”, you will be redirected to the new site.
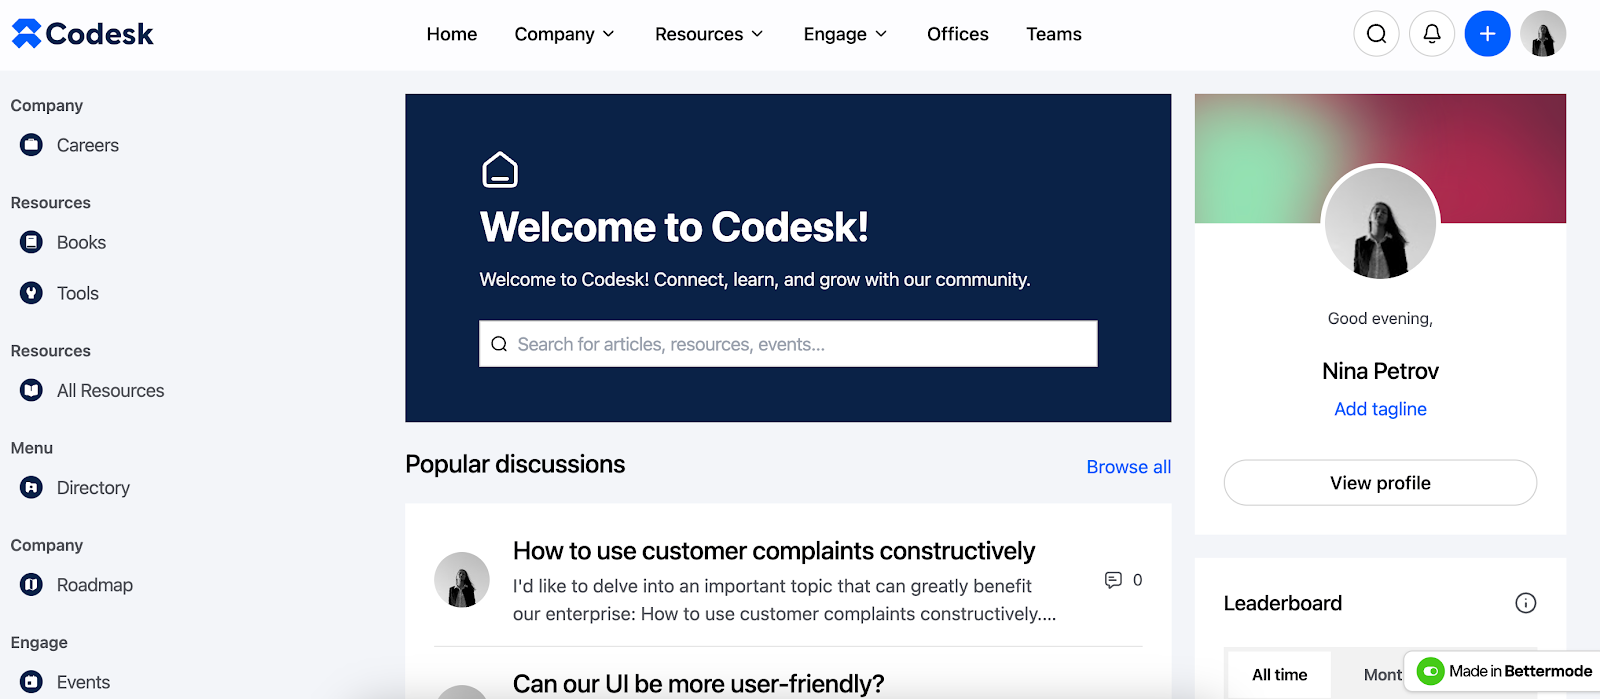
- Hit "C" to open the background of the platform and create all the components of your web app.

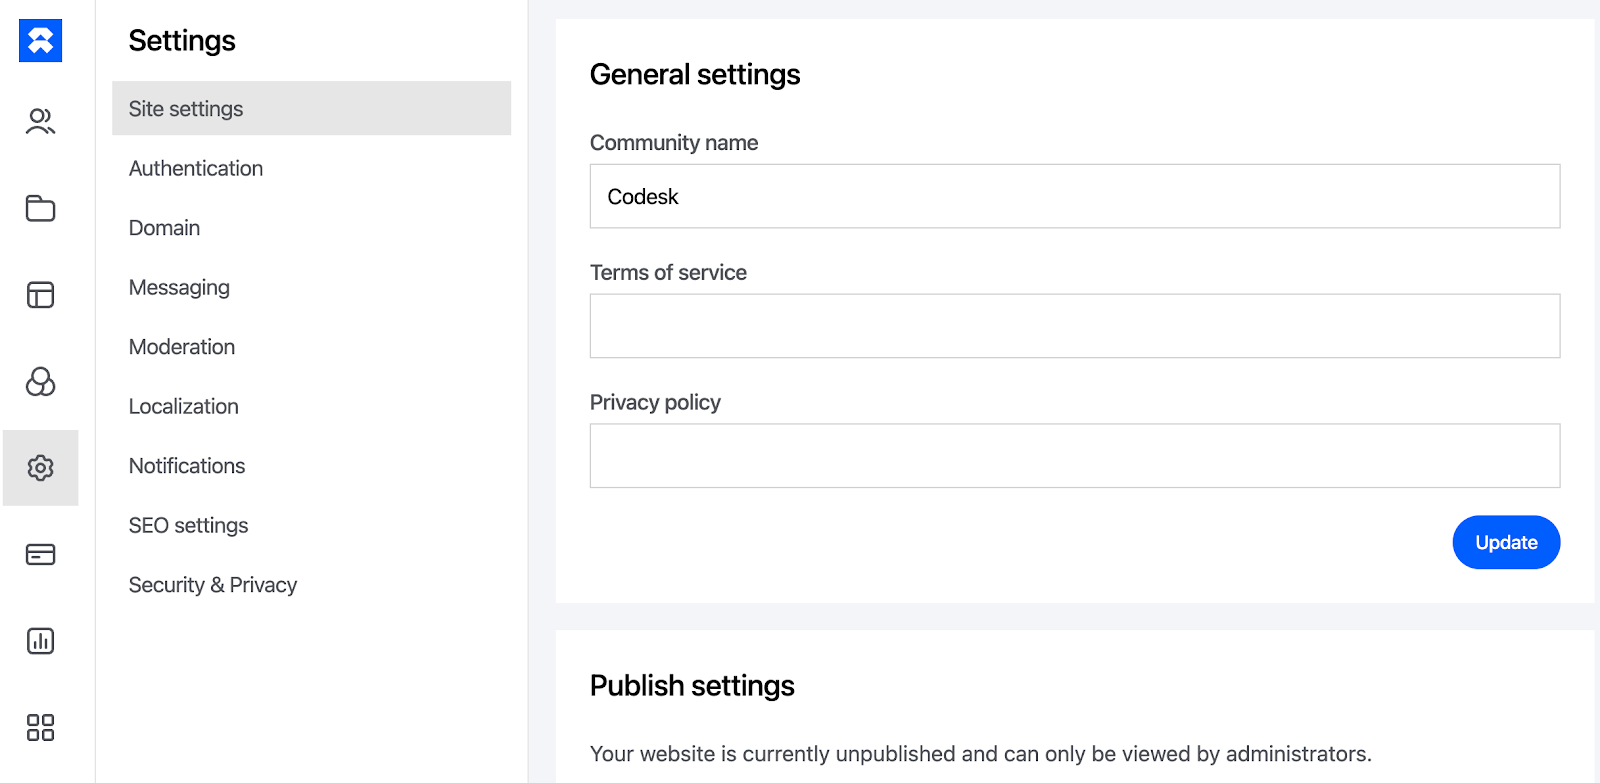
- Go to the "Settings" icon in the left-hand side menu to open General settings and set up your community name, policy, custom domain, and moderation specifications.
- Then, click on the second icon on the left bar which is for content customization. It will take you to the options to change posts, spaces, tags, and CMS.
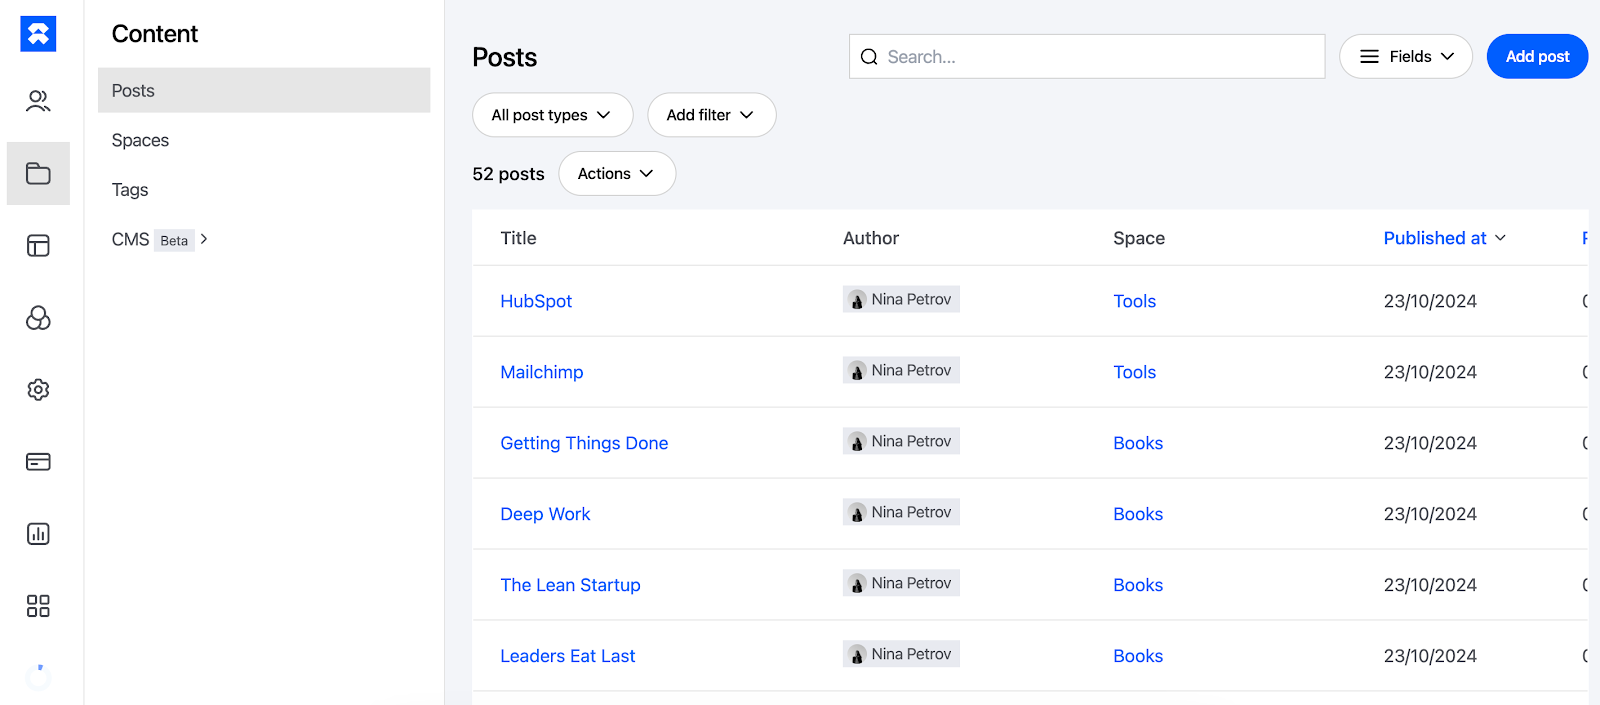
- You can change or remove the existing posts by clicking on each or adding a new one by choosing the blue button “Add post” in the right corner.

- The process of creating a new post is quite straightforward and intuitive. First, you select the type of content you wish to create - Job, Announcement, Resource, Dicussion, Roadmap or Event.
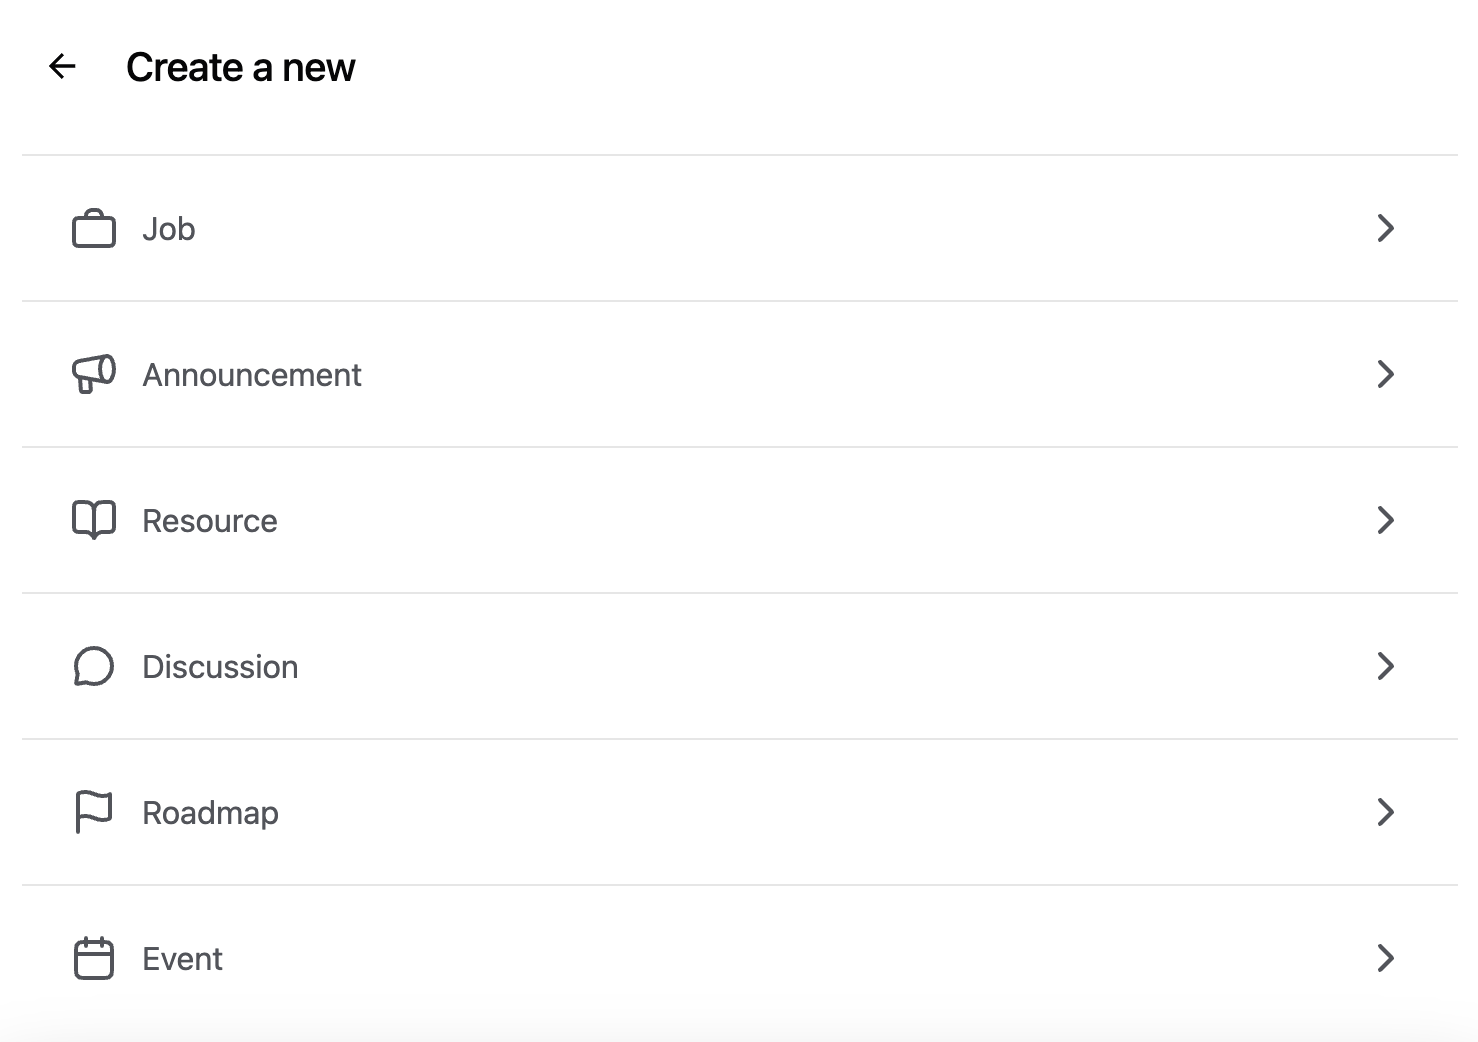
- Then, you simply fill in all the fields and go to publishing.

- Click on “Spaces” to see all available spaces on your site. For example, here we have "Home", "Discussions", "Announcements", "Teams", "Articles", and others. Once we click the three dots next to "Announcements," the next step is the last option shown – "Customize."
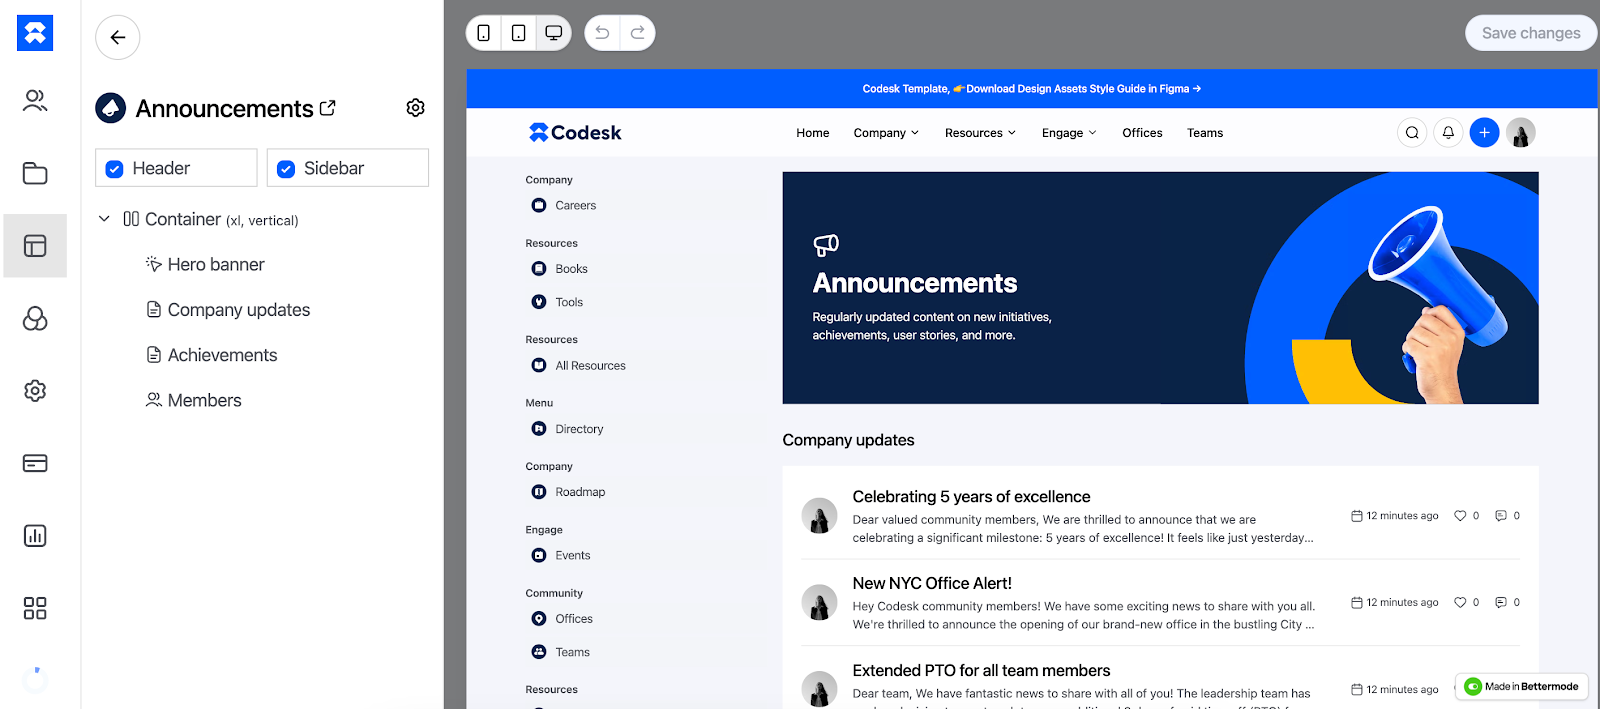
- You'll be redirected to the site where you can customize and change the banners, images, text, colors, etc.
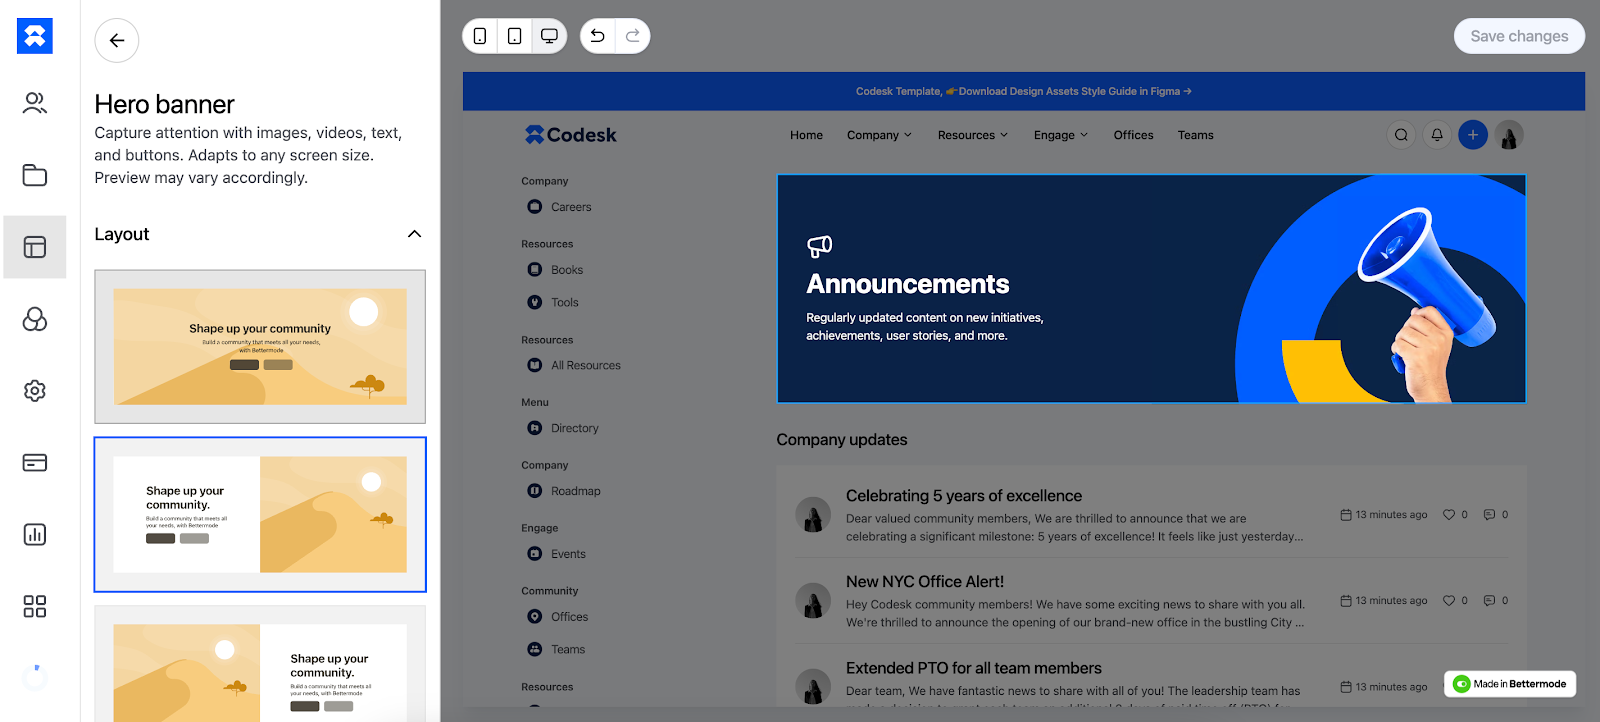
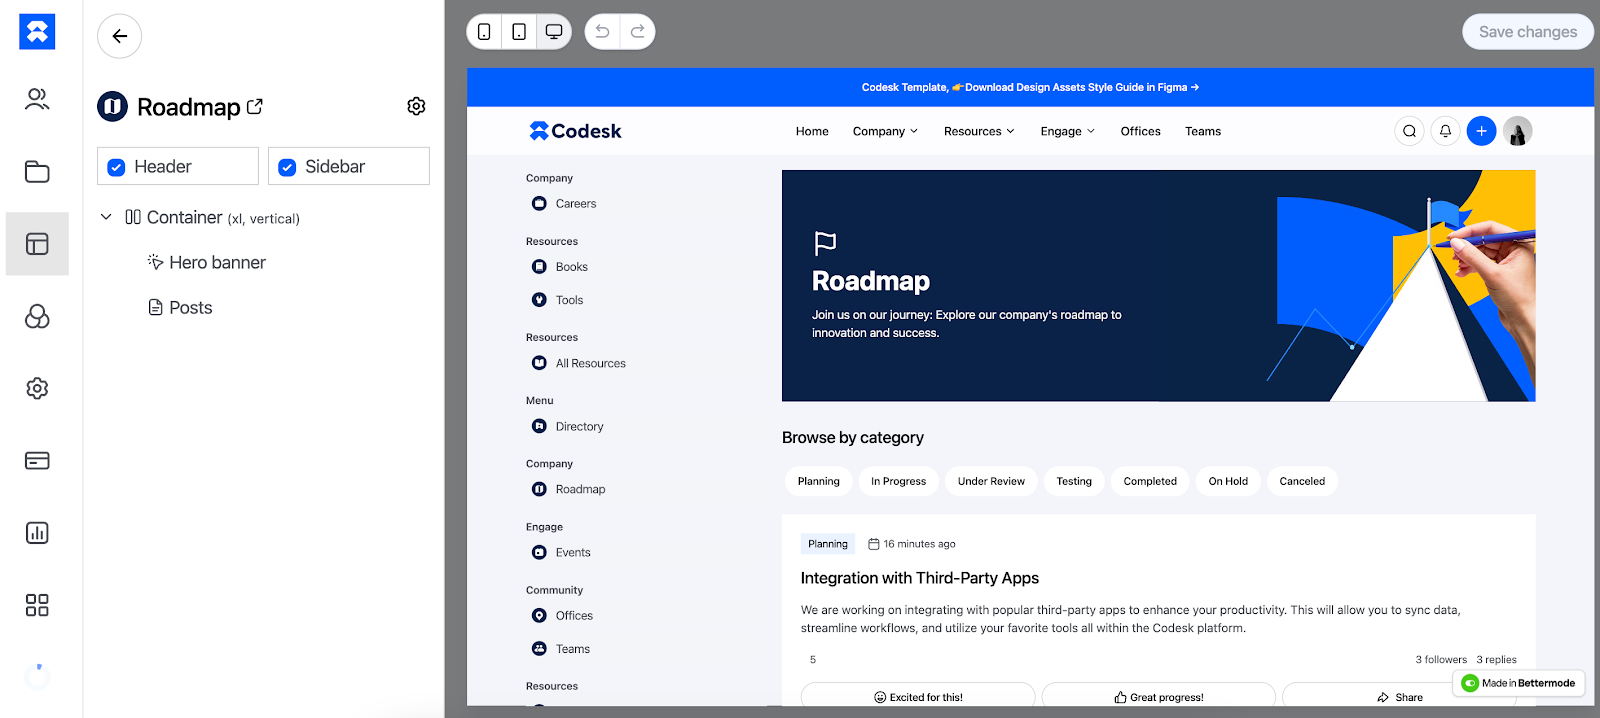
- You can also click on “CMS pages” in Design Studio.

- In this interface, you'll find sections called "Containers" where you can tweak elements like post title, content, event link, action bar, tags, post activity bar, publish date, title, date & time, location, category, type, cover image, hosts, and custom fields.
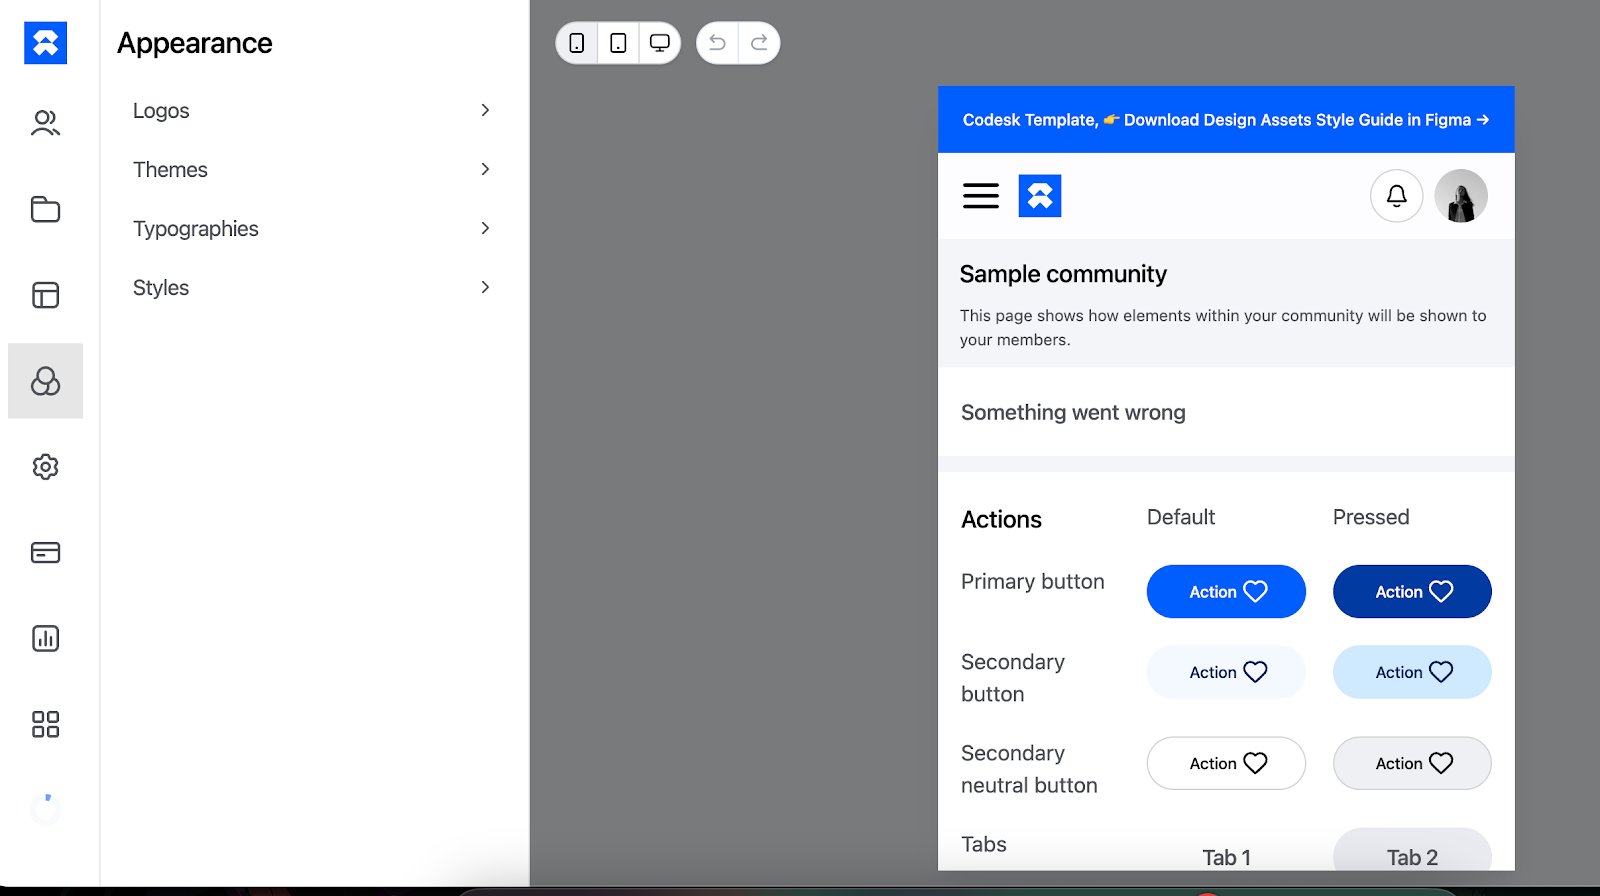
- To adjust logos, themes, fonts, and styles, click the fourth option labeled "Appearance" in the menu on your left (the three circles).

- To change the logo, select the "Logos" option, where you can upload your logo and choose between light and dark modes based on your preferences.

- After you've made your adjustments, just hit "Save changes" and preview how the site looks on different devices by choosing from phone, tablet, or desktop icons.
- The last step is to click the “Settings” icon, go to “Publish settings,” and click the “Publish” button.
That's it—your site is live now.
App creation with Glide
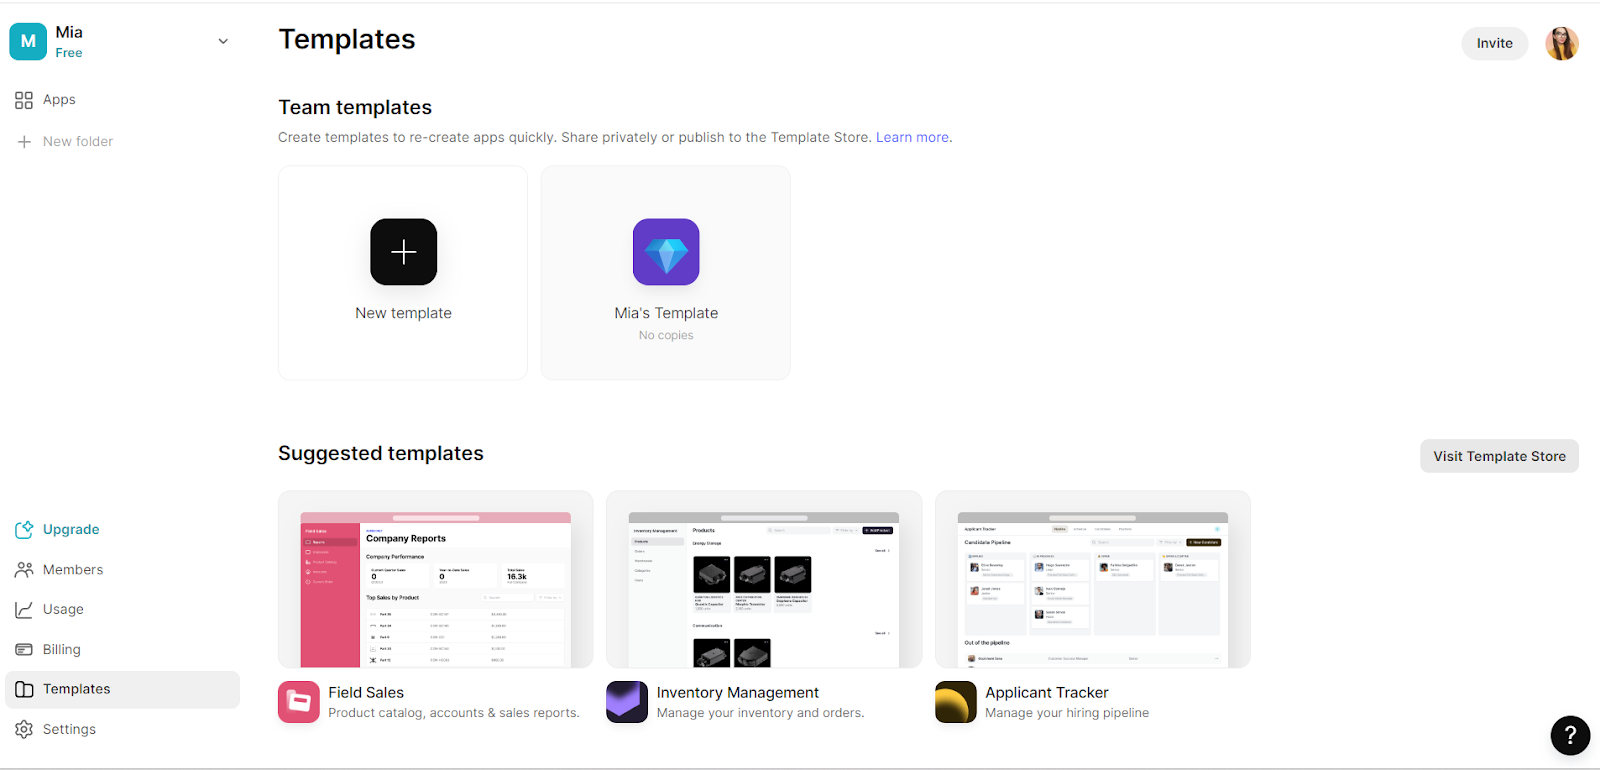
- Log in to your account and open “Templates.” Then, pick the “Visit Template Store.”
- You'll be redirected to many available templates to choose from.
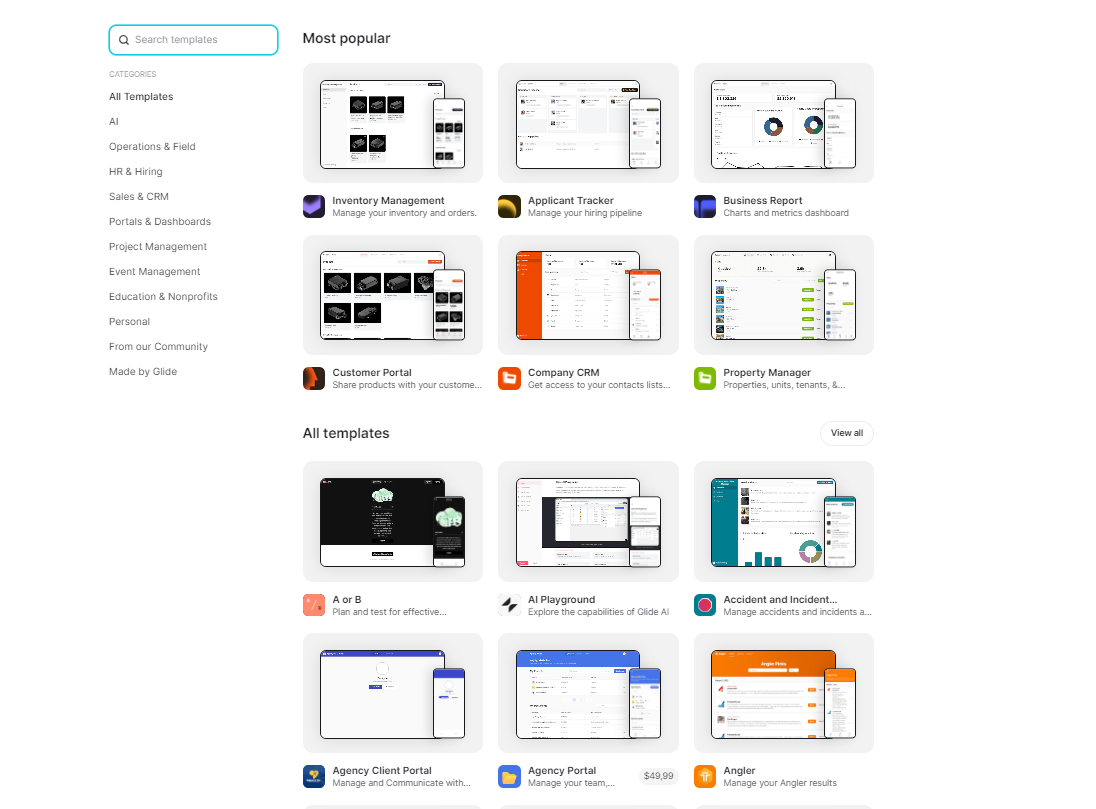
- Choose the one you like and click the “Create this app” button.
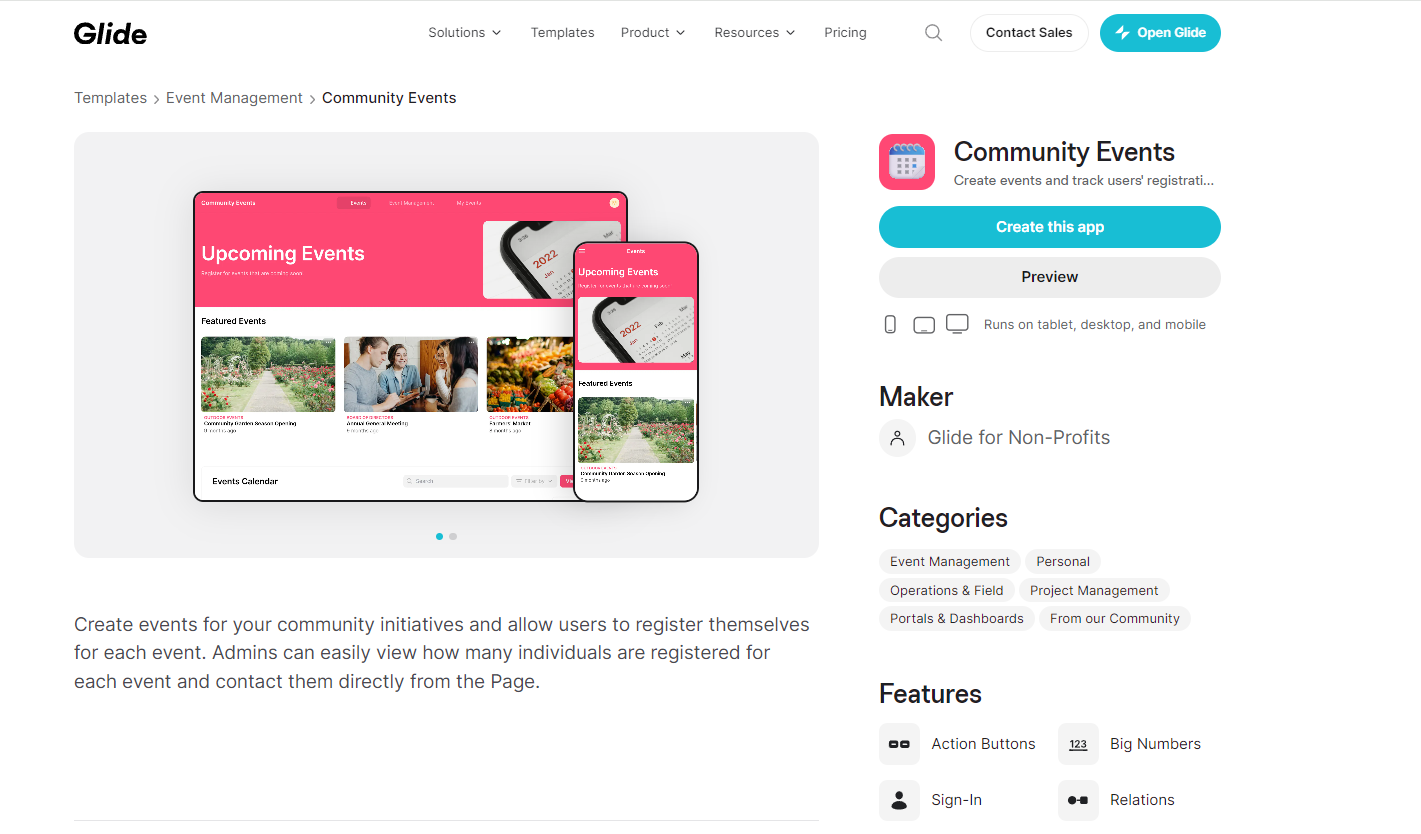
- When you open the site, it automatically displays in the phone preview mode. To switch to the desktop version, click on the option in the top right corner. However, unlike Bettermode, there's no tablet preview available.

- Once you click “Event Management,” you can edit all events on the list.
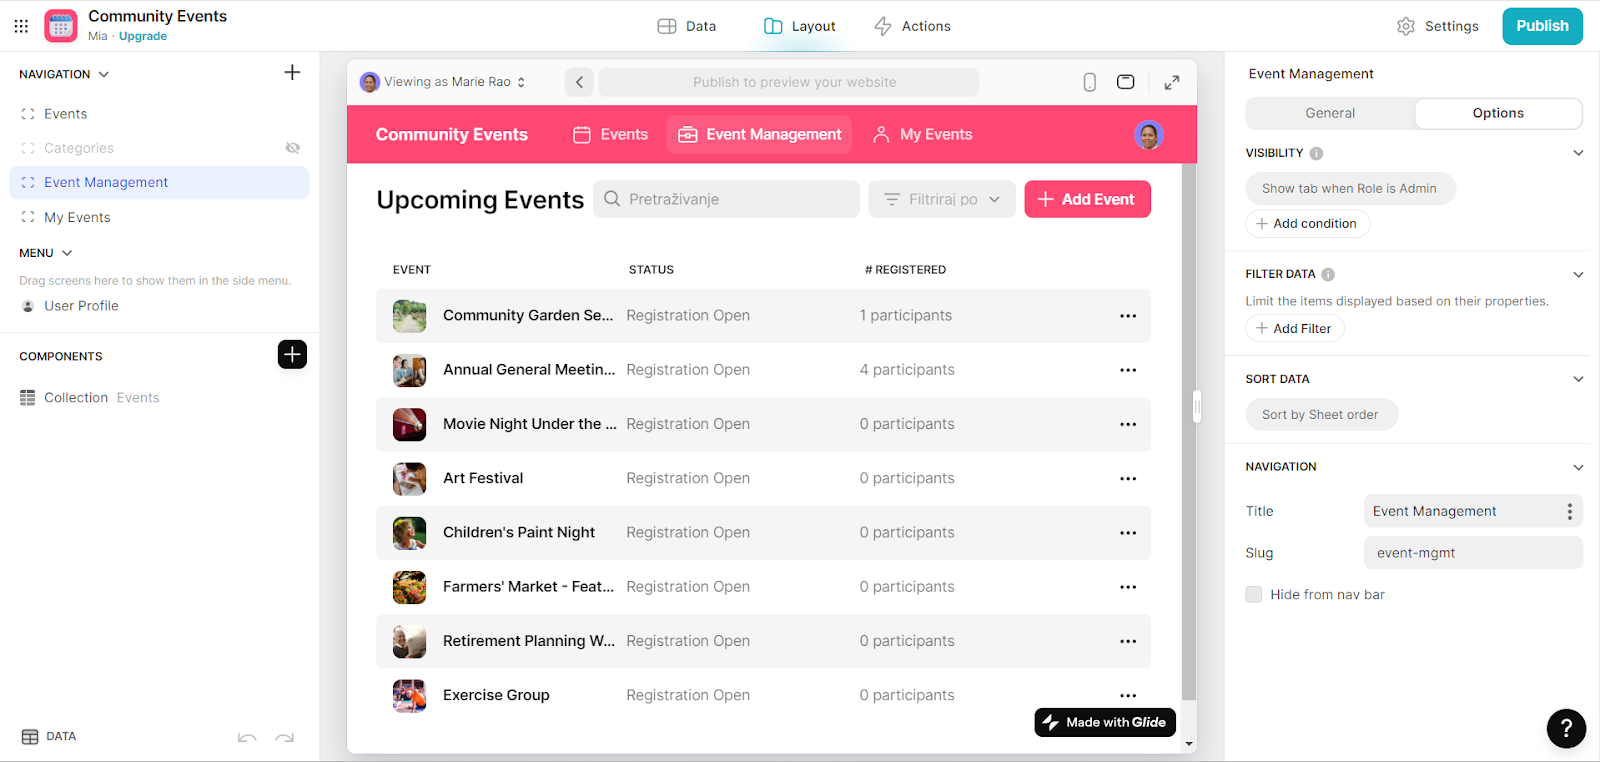
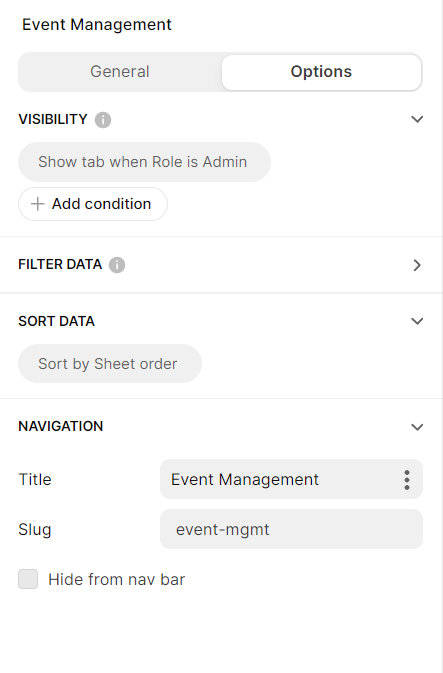
- On the right side, you have options such as changing the title and URL slug.
- Once you click “My Events,” you can edit or remove the registration from your events.
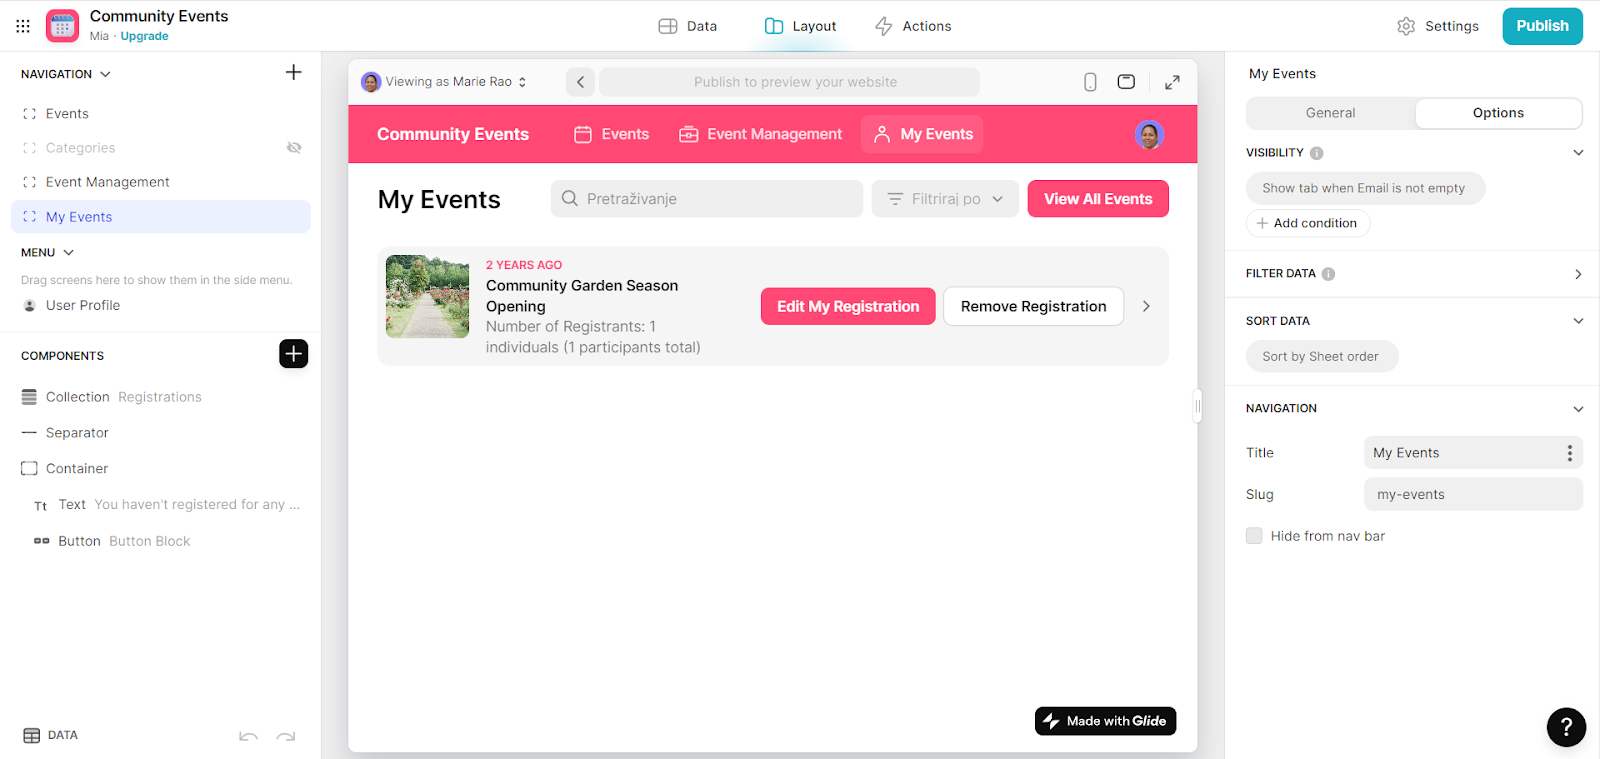
- The “Components” section contains Collection, Separator, and Container subsections. The Collection helps organize and present your table data differently and offers flexibility in design and functionality.
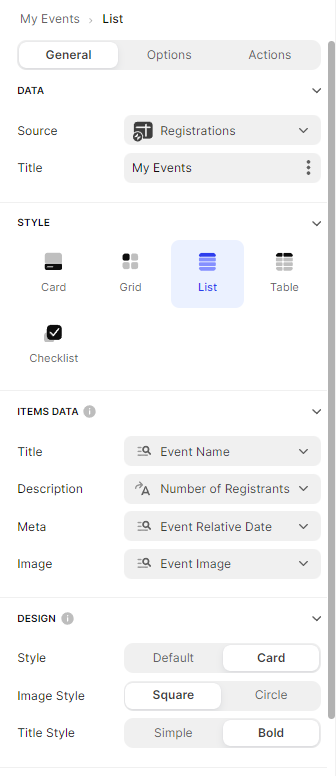
- The Separator component adds vertical space between elements.
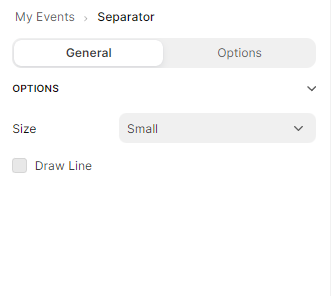
- The Container component helps you organize and style multiple components together.
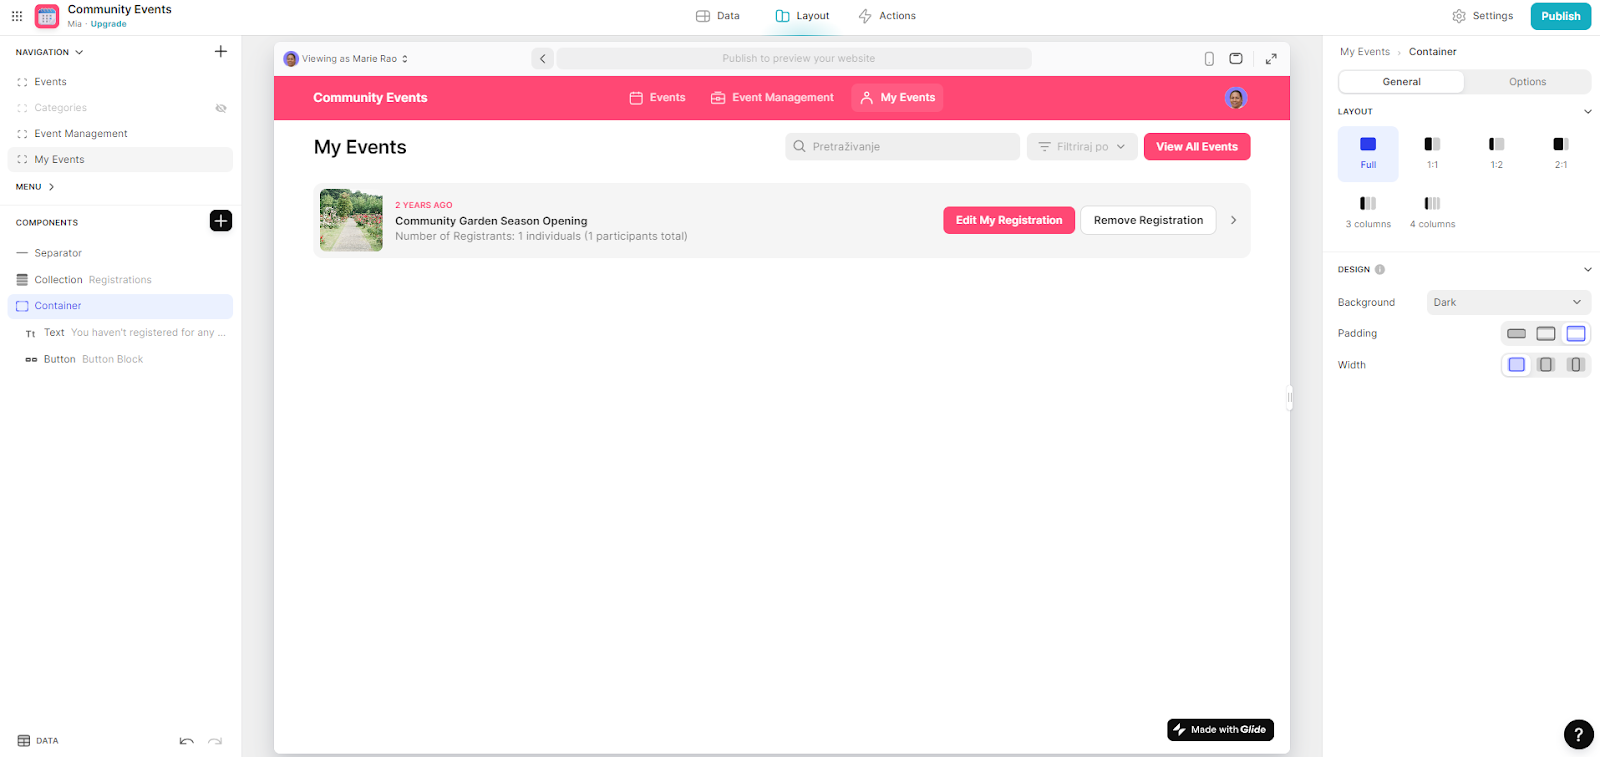
- The Text component adds styled text to your app from your data or manually input.

- Buttons trigger actions in apps. To add one, select a tab, click the plus symbol, and choose the Button component. Pick a style (Basic, Minimal, or Tiles) and width (Auto or Wide), add an accent if needed, and decide to show or hide the label.
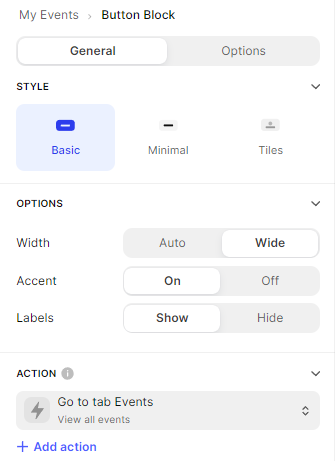
- Once you've made all the desired changes and customized the site to your liking, simply click the "Publish" button in the top right corner.
Finally, this is what the site looks like:

Overall, both of these no-code platforms for app building are good. The process of creating apps didn't take us long. In about an hour, we had everything ready to go.
We can only say that we spent a bit more time on Bettermode because it allowed us to explore more options and add more elements, including more text boxes, forms, visuals, etc.
Bettermode allowed us to do everything we imagined. On the other hand, we spent some extra time on Glide while trying to find some nonexistent or too hard-to-find features, like adding a logo.
Furtermore, we have spent some time figuring out how to connect supported data sources in Glide. There is only so much information on the page, while if we wanted to integrate our database, we'd probably contact support.
Comparison table
Bettermode vs. Glide: pros and cons
Bettermode pros
- Super-friendly interface
- Handy pre-made templates for building internal tools
- Custom domain available in Lite
- Own CMS, no need to integrate external apps
- Great for online community web and mobile apps
Bettermode cons
- So far only 20 templates, new ones are being developed
- Limits to the number of members and spaces in free plan
Glide pros
- Intuitive to navigate within the platform
- Quick to build and deploy an app
- Great features and functionality for launching a product MVP
- Very responsive customer support
Glide cons
- Coding is facing certain limits when it should integrate big data
- Some features still require a call with their support
- Limits to the visual customization options (eg layouts, margins, colors)
- No preview available for a tablet device
Conclusion
While both no-code platforms offer comprehensive sets of features and functionalities for creating an app, in the competition Bettermode vs Glide we'd have to vote Bettermode.
We found that Bettermode offers more flexibility, advanced features, and customization options. Glide still requires more complex setups, while Bettermode provides a smoother experience, and for a lower price.
It's perfect for creating forums, online classes, job boards, knowledge bases, event planning, product roadmaps, and much more.
Build apps with the best no-code platform that brings the perfect combo of functionality and ease of use - start today, for free!

This article was originally published on April 12th, 2024, and was updated on October 26th, 2024.
FAQs
Is there anything better than Glide?
Bettermode is an alternative to Glide and one of the best no-code platforms due to its user-friendly interface, budget-friendly CMS, extensive customization options, and integration capabilities.
What is the difference between Adalo and Glide?
Glide uses Google Sheets for data, but Adalo offers flexibility with its open-ended database, compatible with any data source through REST API. This means you're not tied to a single tool and can easily use your existing data.
Is Glide or Bubble better?
Glide offers customizable templates, whereas Bubble does not have that option. On the other side, Bubble has more than 1000 templates, while Glide has around 100. So, choosing the right no-code platform depends on your specific needs and preferences.
What is the Glide app used for?
Glide app is great for quick app development using templates and importing data from sources like Google Sheets or Excel.
What happened to Glide app?
Glide Pages have been renamed and are now called Glide Apps. What used to be Legacy mobile apps is now named Classic Apps, and users no longer have the ability to create them.


